
Abstract
Power Monitors, Inc. Canvass has several new features that allow you to easily manage user accounts, setup distribution lists, configure devices, and set user preferences.
Admin Tasks with Canvass
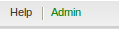
If you are an administrator on Canvass, you can perform many actions that a regular user cannot, such as managing users and creating distribution lists. If you are logged in as an administrator, the word Admin will appear in green on the application’s main toolbar as shown in Figure 1.
Managing Users
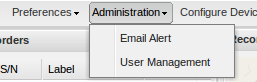
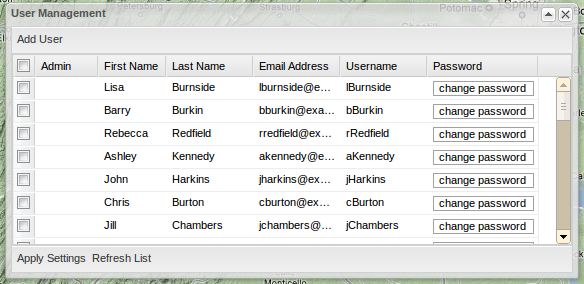
On the main toolbar, click on Administration as shown in Figure 2 and select Manage Users, the user management window will appear. Here you can set users as administrators, change user’s passwords, and add users as shown in Figure 3.
Adding a User
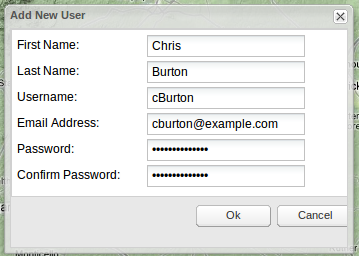
Click Add User on the toolbar at the top of the user administration window. A window will open asking for the user’s first name, last name, user name, e-mail address, and password as shown in Figure 4.
Changing User Passwords
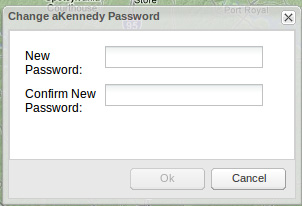
On the User Management window, find the user in the list and click on the Change Password button. A window will open asking you to enter the new password and verify the new password as shown in Figure 5.
Making a User an Administrator
On the User Management window, find the user in the list and select the checkbox next to their username. The word Admin will appear next to their username. Do this for as many users as you like. After you are finished, click Apply Settings to save your changes to the database.
Creating and Editing Distribution Lists
A distribution list allows you to configure Boomerang recorders to send e-mail messages when an event or alarm has triggered.
Create a New List
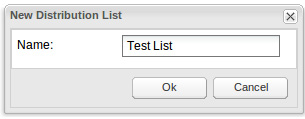
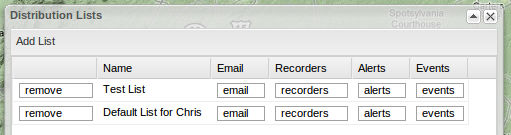
On the main toolbar, click E-mail Alert located under Administration. The distribution list window will open as shown in Figure 6. Click Add List. Name the list and click OK as shown in Figure 7. Your distribution list will appear in the grid in the distribution list window.
Setting Events
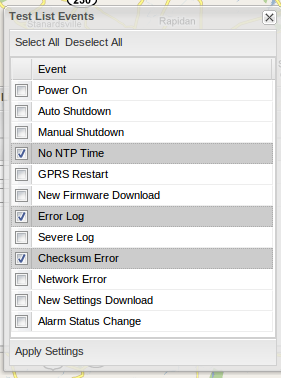
Click on Events located in the list’s row. An events window will open as shown in Figure 8. Select the events that you would like in the distribution list by clicking on the checkbox next to the event’s name and click Apply Settings.
Setting Alerts
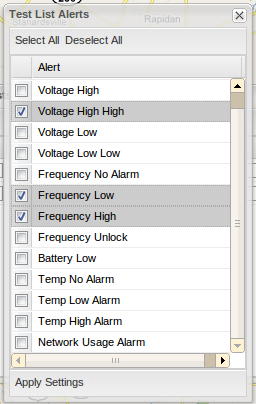
Click on alerts located in the list’s row. An alerts window will open as shown in Figure 9. Select the alerts that you would like in the distribution list and click Apply Settings.
Setting Recorders
Click on Recorders located in the list’s row. A recorders window will open as shown in Figure 10. Select the recorders that you would like in the distribution list and click Apply Settings.
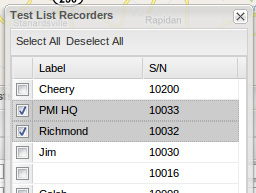
Recorders added to the list will send an e-mail when any of the distribution list’s alerts or events occurs.
E-mail Address Settings
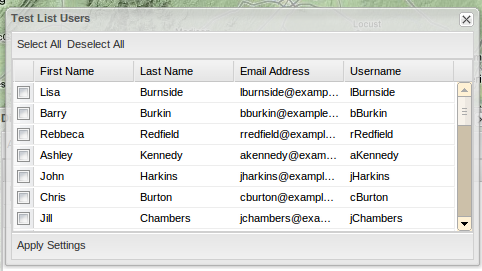
Click on e-mail located in the list’s row. The e-mail addresses window will appear as shown in Figure 11. Select the e-mail addresses that you wish to send e-mails to when an event or alarm occurs. Click Apply Settings.
Configuring Devices
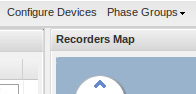
To configure Boomerang settings, click Configure Devices on the main toolbar as shown in Figure 12. The settings window will appear (Figure 13). Administrators have access to more settings than non-administrative users.
Create New Settings
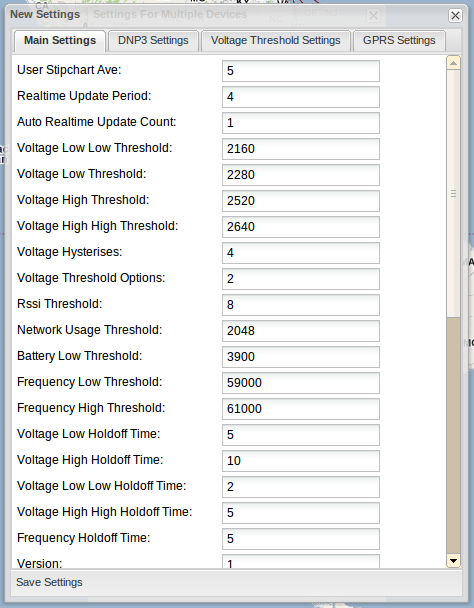
Click Create New Settings on the bottom toolbar of the settings window. A create new settings window will appear as shown in Figure 14. Click on the window tabs to switch between different groups of settings. Once you are finished configuring the settings, click Save Settings on the bottom toolbar.
Sending Settings to Devices
After you have created your settings, click on the name of the settings in the settings window. Select the recorder(s) you wish to send the settings to in the recorders grid at the bottom of the settings window and click Send Settings to Device(s).
Edit Settings
To edit a settings object, select edit in the grid next to the setting’s name. An edit settings window will appear. Once you have finished editing the settings, click Save Settings.
Setting Preferences
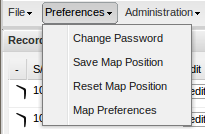
On the main toolbar, click Preferences. To save the current map position, click Save Map Position. If you wish to revert the map to its last saved position, click Reset Map Position.
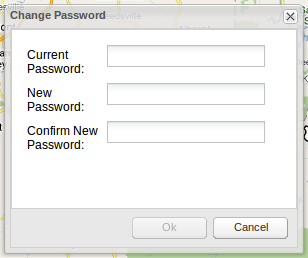
To change your password, click Change Password. A window will appear asking you to enter your old password and a new password as shown in Figure 15.
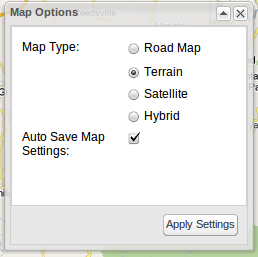
To set the default map type, click on Map Preferences. A window will open allowing you to choose the default map type as shown in Figure 16. You can also select Auto Save Map Settings to save your current map settings when you log out.
Power Monitors, Inc. Canvass makes it easy to manage users and configure recorders.