Abstract
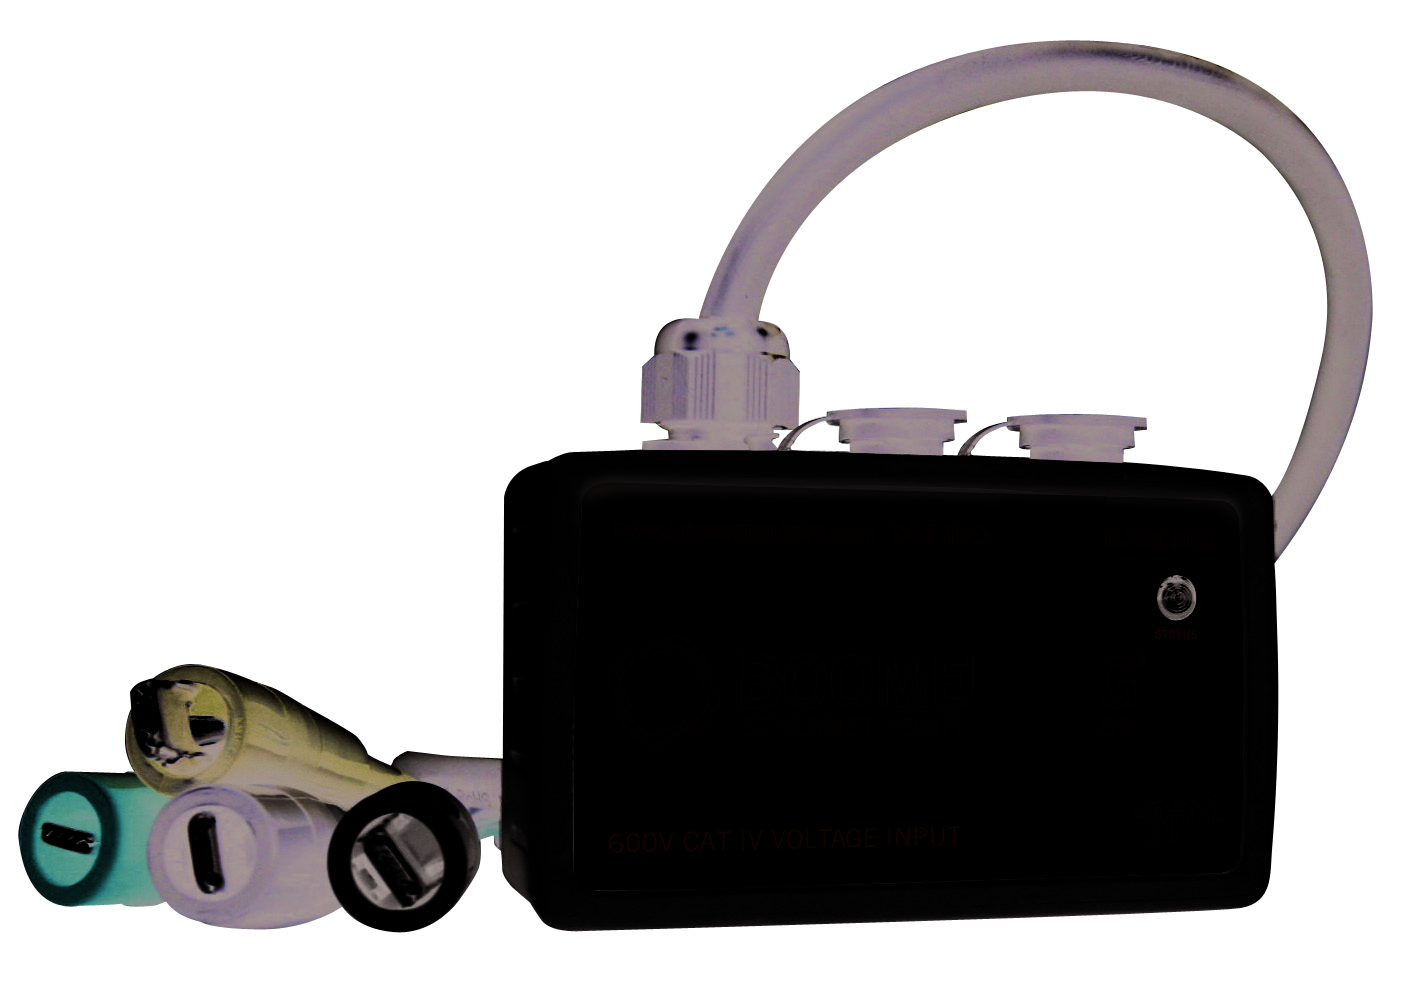
PMI’s Ethernet Boomerang monitors can be powered over Ethernet for real-time voltage, current, and power monitoring. The Ethernet Boomerang allows quick connection and communication over a company’s network, without incurring cellular data charges. This white paper will discuss the different networking configuration options that are available with a wired Ethernet connection, how to implement these options and some pros and cons of each.
Addressing
A networked device is addressed at the TCP/IP layer with an “IP address”. This 4 byte address uniquely identifies a device on the LAN, and is used by a SCADA master or other software as the destination for outgoing packets. The IP address is an upper-layer address, used with cellular and wired networks. Gateways and routers route packets through a network via IP addresses. A device’s IP address may be programmed into the device, or assigned dynamically by a server via the DHCP protocol.
Each wired network device also has a MAC (Media Access Layer) address. This is a lower layer physical address, and is permanently burned into each device at the factory. Routers and gateways use the MAC address to identify nodes on the network, and map from logical IP address to the physical MAC address on wired networks.
Static vs Dynamic IP Addresses
The Ethernet Boomerangs are configurable to either receive a dynamic IP address from a DHCP server or to be directly configured to use a static IP address. The default behavior is to use the DHCP protocol to obtain an IP address.
Using DHCP for IP address acquisition allows the user to essentially plug the device into the network without any further configuration. However, some organizations have strict regulations pertaining to network-connected devices. At this point, it may become necessary to configure the Boomerang to use a static IP address (see Configuring Boomerang Network Settings).
A common best practice is to leave the Boomerang configured for DHCP, but program the DHCP server to assign a fixed IP address to each Boomerang. From the Boomerang’s perspective, the IP address is dynamic – it receives it from the DHCP server each time it boots. But the DHCP server will send it the same, fixed IP address each time, so in reality it’s a static IP method. To set this up, the DHCP server is loaded with a list of Boomerang MAC addresses and the desired fixed IP address for each one. This allows for NMS and a SCADA master to know in advance the IP address of every device, and prevents having to hard-code IP addresses in each Boomerang. IP address changes are made by changing the configuration in the DHCP server.
Static IP Addresses and NMS
As mentioned before, network-connected devices are regulated differently at each institution, however, there are some general pros and cons to consider in locations where the user is given an option to deploy devices with statically or dynamically assigned IP addresses.
Using a static IP address allows a user to create a static entry into the NMS one time and have the device visible on each subsequent use of the software. This is because the IP address does not change and the NMS software will not have to send UDP broadcast packets (for more information on these packets, see: Dynamic IP Addresses) for discovery. Once the device has been added with a static IP address, all the user has to do in order to communicate with the device is to select the device and select an operation.
Many organizations have IT rules and regulations that stipulate that any and all hardware that is connected to a company network must be identified or identifiable. By using a statically assigned IP address, network and system administrators are able to catalog and identify every Boomerang that is connected to the network in accordance with those rules.
Dynamic IP Addresses and NMS
Dynamic IP address resolution of a Boomerang through a DHCP (Dynamic Host Control Protocol) server can be tremendously useful for a user. This method of IP address resolution allows the user to simply connect the device to the network via Ethernet and within a few seconds, the device will have obtained an IP address and will be discoverable in NMS.
NMS detects “dynamic” Boomerangs by sending a UDP Broadcast Packet when the Discover button is pressed. This packet is a small UDP packet that is broadcast to the local sub-net on the discovery port (port 7151, see: Communication Ports). Once the discovery packet has been sent, NMS then goes into a waiting period (in the background) where it listens for UDP response packets being delivered back for identification. These response packets contain a minimal amount of identification information (IP address and Serial Number) that allows NMS to dynamically add the discovered devices.
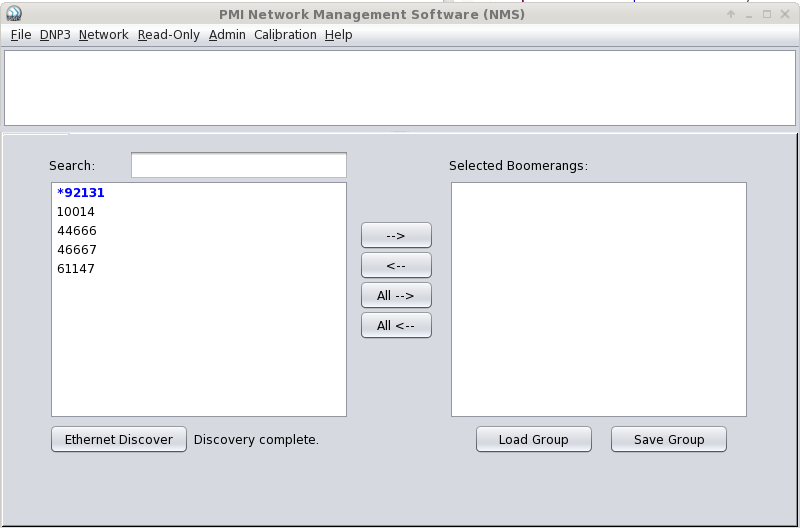
Discovered Boomerangs are displayed with an asterisk(*) in front of their serial number to distinguish them from non-discovered devices.
When a DHCP server assigns an IP address to a device, that IP address may only be available for a specified lease time. Each DHCP server implementation and configuration are different and vary widely from organization to organization. A standard lease time, however, is usually about 24 hours. Often when the DHCP lease is renewed the same IP address is assigned but this is not guaranteed.
In many cases, the lease time is indefinite, and these become essentially fixed IP addresses – a common configuration for SCADA, where the IP address must remain constant for the SCADA master to poll. If the IP addresses are fixed in the DHCP server, then NMS can be configured to use the IP address list directly, skipping the discovery step. This is another advantage of fixed IP addressing with a DHCP server.

Configuring Boomerang Network Settings
Boomerang network settings are configured using the NMS software available from Power Monitors web page (nms.powermonitors.com). Start NMS and follow the procedures below.
Make sure that the Boomerangs that are to be configured are connected to the network. Locate the device(s) in NMS that you wish to configure. If they do not show up in the available device list, try pressing the Discover button. Select the device(s) and press the arrow key to move them to the selected device list. If you are configuring Static IP addresses select the devices one at a time since the IP addresses are required to be unique on a Network.
From the Network menu choose the menu item “Set Ethernet Network Settings”. The Network Settings dialog should appear. Enter the desired network settings and press OK. The entered settings will be sent to all selected Boomerangs. Repeat these steps as needed to configure each Boomerang.
To see the current Boomerang network settings, select the desired Boomerangs and from the Network menu choose “Get Ethernet Network Settings”. A network settings request will be sent to each selected Boomerang requesting its current settings. When completed press the “Show Report” button to show the report of the current network settings.
Communication Ports
Communications between NMS and the Boomerangs are on TCP port 65211. Boomerang discovery communications are on UDP port 7151. Firewalls and routers between NMS and the Boomerang must be configured to pass communications on these ports for NMS to work correctly. Since UDP broadcast is typically restricted to the local sub-net, Boomerangs will have to be on the local sub-net to be discovered.
Conclusion
PMI’s Boomerang recorders are very flexible, portable, and powerful tools that can be used for many different monitoring applications. Networking a large number of Boomerangs is straightforward with the proper planning and server configuration. The NMS software, available from Power Monitors, can be used to easily configure Boomerang network settings to match the network configuration, if the default DHCP settings are not used.
